Categories
Health & Fashion More

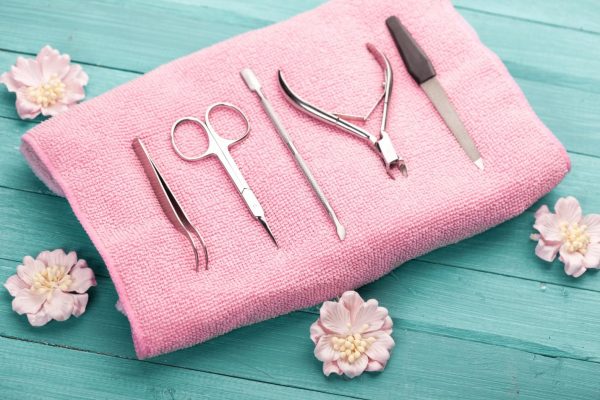
Treat Yourself Right With These Pedicure Tools

With frequent walking and inadequate skincare, our feet appear to get rough. And, staying inside for weeks might have led your toenails to look a little less than their best. If you are yearning for that smooth feeling that a good pedicure leaves you with, get your pedicure gear in motion. It is possible to get a professional-seeming pedicure without stepping outside, with all the essential pedicure tools at home.

The first step to giving yourself a perfect pedicure at home comprises some basic dos and dont’s.

Given below are steps to get dainty looking feet in no time:

Gather the Essential Pedicure Tools

Make sure that your pedicure kit tools are up-to-date. For an at-home pedicure, you should have the following pedicure tools:

  1. Nail clipper and file
  2. Nail polish remover
  3. Cuticle pusher
  4. Nail buffer
  5. Pumice stone
  6. Exfoliating Scrub and foot mask
  7. Cuticle nippers and toe separator

Trim Your Toenails

Using a straight nail clipper, create a straight line, and avoid ingrown toenails. Once done, file the toenails smooth in one direction. 

Go Gentle on Cuticles

Repeat less is more as a mantra while treating your cuticles. Be gentle with your cuticle pusher while using it. Push back any waxy build-up on your natural toenail plate and clear the cuticle area. This pedicure tool detaches cuticle build-up from the natural nail. It also helps nail polish stay longer on your nails. After this step, use the cuticle trimmer and trim only the dead skin.

Exfoliate Rough Heels

Start by soaking your feet to soften and help remove dead skin. Using your foot file, buff the rough areas of the feet. Focus on the cracks of the heel edges since calluses tend to occur there.

Treat Feet to a Foot Mask

An essential pedicure tool, the foot mask, helps to extend the life of your baby-soft skin days after a pedicure. For dry feet, opt for a moisturizing mask that will nourish your skin on the soles and leave them silky-smooth. Soak your feet for an extra ten minutes for added relaxation after rinsing off the mask.

Base Coat is a Must

Always follow the rule of using a base boat before coloring your nails. Do not skip this step as it prevents chipping and yellowing nails caused by using dark nail polishes. It does not take more than a few extra minutes for application.

Apply Nail Polish

Toes are a great place to play with bolder nail polish shades as you can hide them if required. There are nail polish trends that range from bright colors to subtle ones and then there is nail art too. You can always go for a pop of color that looks good on all skin tones. Otherwise, if you prefer to keep things classic, sheer nude color is a safe bet. Make sure not to apply a thick layer and instead layer on thin coats with adequate time in between for drying. Doing so will provide you with perfectly polished nails without scratches or marks.

Seal Your Color 

To ensure that your nail polish does not chip off easily, always apply a long-wear top coat. This hack will keep your toenails shiny for a long time.

Do Not Forget Cuticle Oil 

If you want strong and healthy nails, cuticle oil is key. Always remember to apply some of it after painting your nails.

Give yourself a salon-worthy pedicure at home by following this regime and treat your feet right. It is essential to maintain proper foot health. And, to ensure that nothing hampers your at-home pedicure, make sure that you have the latest pedicure kit tools. If you want a variety of options to choose from, opt for luxury brands like Vega. They have all the newest pedicure tools with variations like their 4-in 1 pedicure tool product and pumice stone and brush in one product.

Become a nail pro with ease!